-
- - Overview
- - Learn about Git
- 1.What is Git?
- 2.Install Git & Vscode in your computer
- 3.Learn about Git commands
- 4.Download your Git documentation repository from GitLab
- - Learn HTML & Modify the code with VS Code
- 1.What is HTML
- 2.Try to find a beautiful demo and adjust it for my website
- 3.Adjust the template to build my first website.
- - Upload my files to Gitlab
Week-1 Project Management
Week 1 - Overview
In the first week of the Fab course, I initially learned about project management,
where we are required to complete our weekly assignments for Fab2024 on GitLab.
Therefore, I first learned how to install Git on my MacBook, followed by downloading VSCode to edit my web page code,
which included learning HTML&CSS.
I also discovered that I could use Markdown documents to update the website.
After acquiring these skills, I considered from a framework mindset that I should first complete the overall framework of my website and set a unified style.
This would facilitate the continuous update of subsequent weekly assignments.
Here is my summary of the project management content I learned.
(Thanks to my classmate
Dion
for being the class representative and taking notes :P)
Reference Links
A Friendly Guide for Your Fab Academy Journey.Version control & GitLab.
- Learn about Git
1.What is Git?
Git is a version control system that allows you to track changes to files over time. It is widely used in software development to manage code, documentation, and other files. It is a distributed version control system that allows multiple developers to work on the same project simultaneously. It is a powerful tool for managing changes to code and collaborating with other developers.
A popular Version Control System
Git is a tool used for tracking to your project files
Saving your changes is called a Commit
Everything is stored in a Repository
View history of all commits (who/when/what changed)
Revert/restore past changes (good if anything breaks)
Push commits (changes) to remote central repo (upstream/origin)
Multiple locations can sync their changes with origin
To Learn more about Git:
see this page.
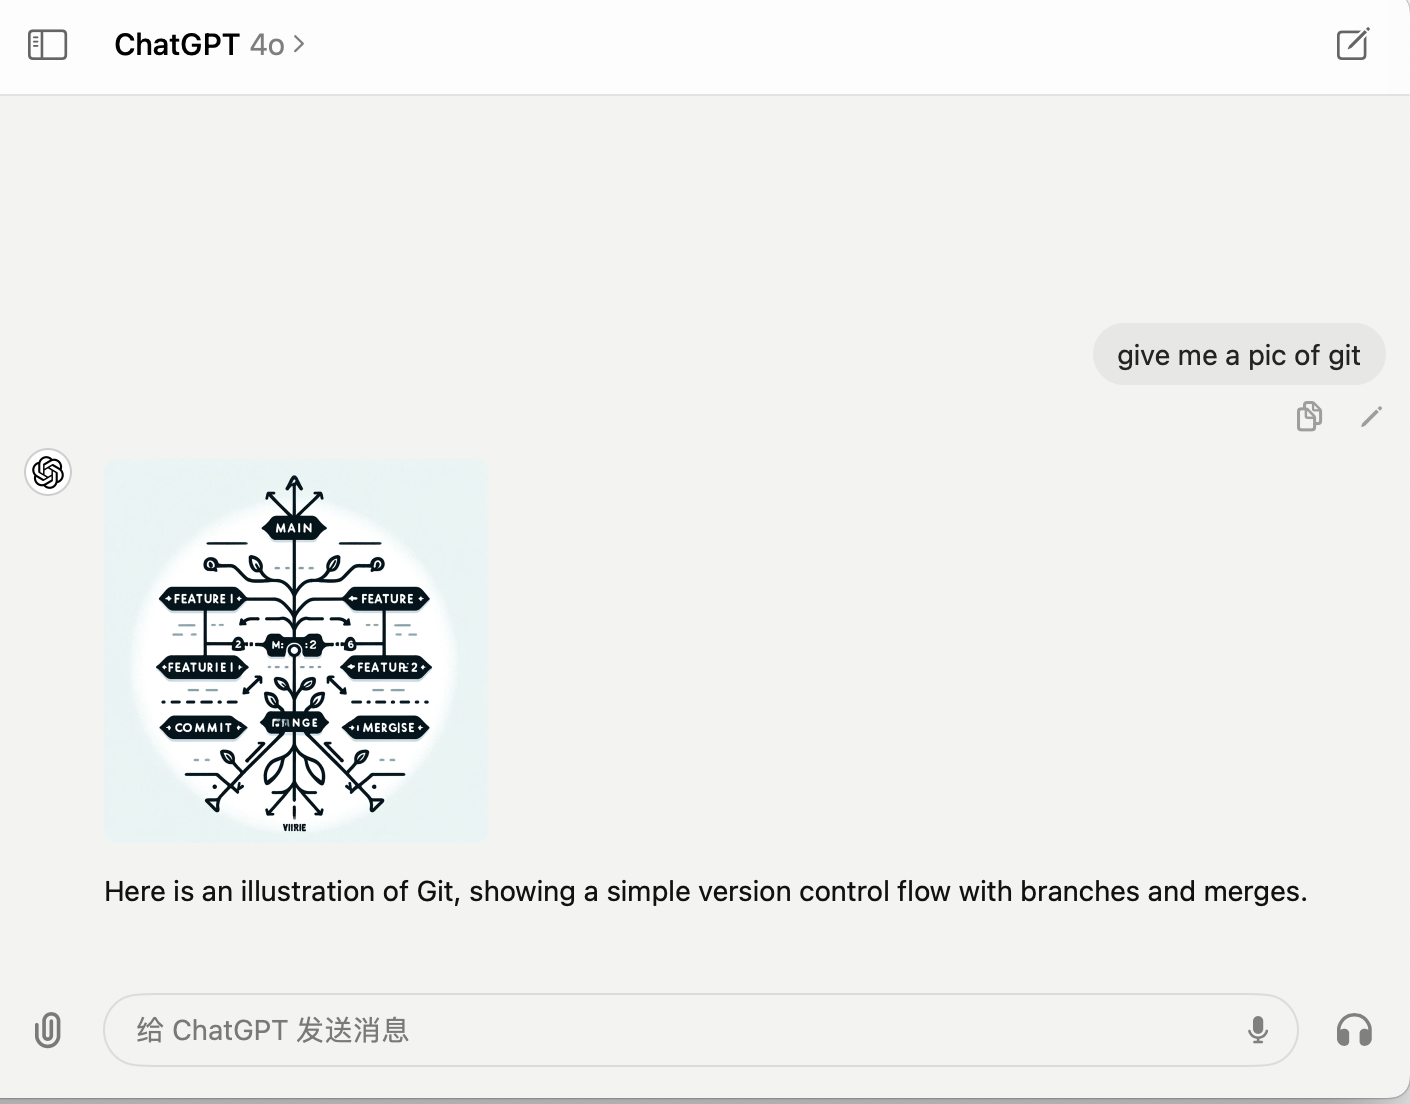
I also learned about Git from ChatGPT:
Git is a tool that helps you record and manage changes to files, especially useful when writing code. Its main functions are:
2.Install Git & VScode in your computer
Download Git and VScode
To install Git:
see this page.
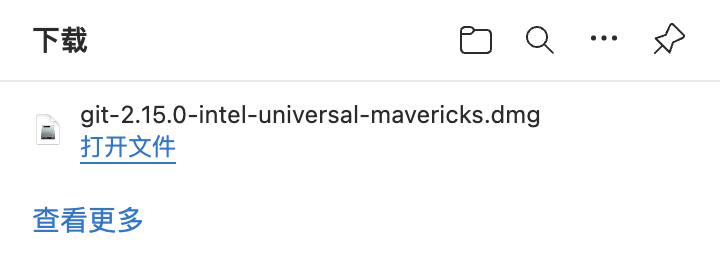
Install Git
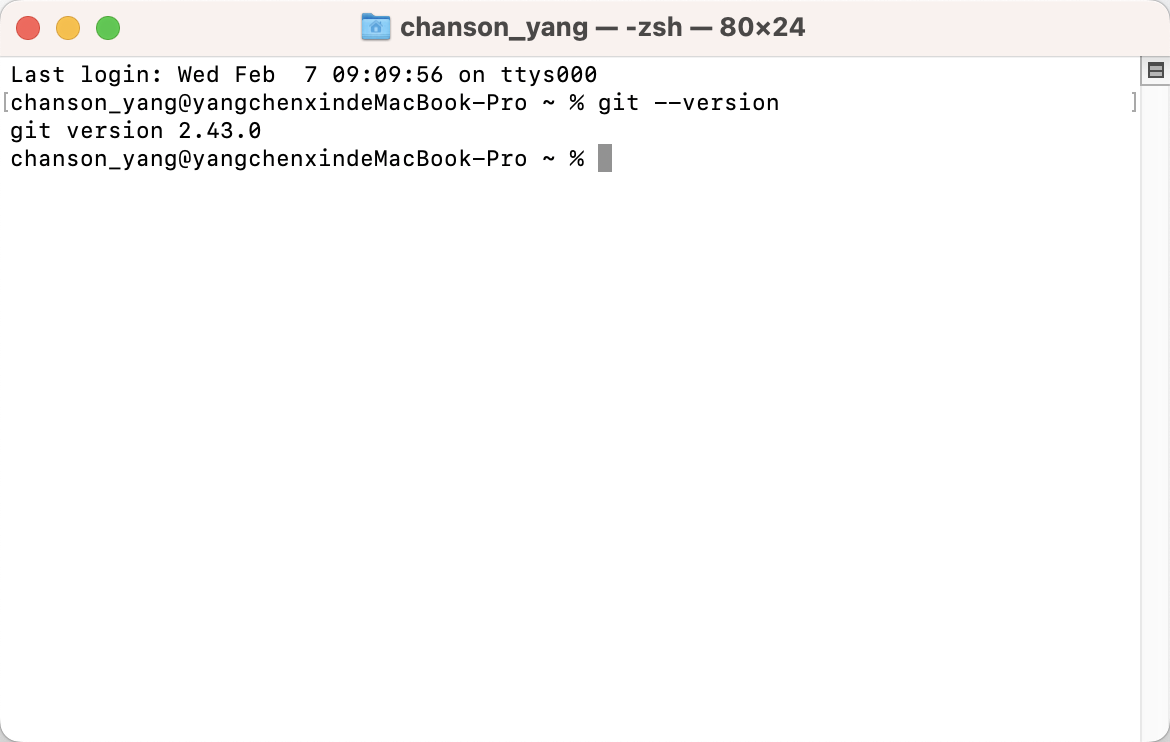
During the installation of Git, you can click next directly in most cases. Download IDE from
Visual Studio Code . And I got a zip. to use it directly.
3.Learn about Git commands
Git commands
• git init: Start Git in a folder to record changes.
• git add: Tell Git which files you want to save changes for.
• git commit: Actually save all marked changes to Git’s records.
• git push: Upload your locally saved changes to the remote server.
• git pull: Download the latest changes from the remote server.
4.Download your GIT documentation repository from GitLab
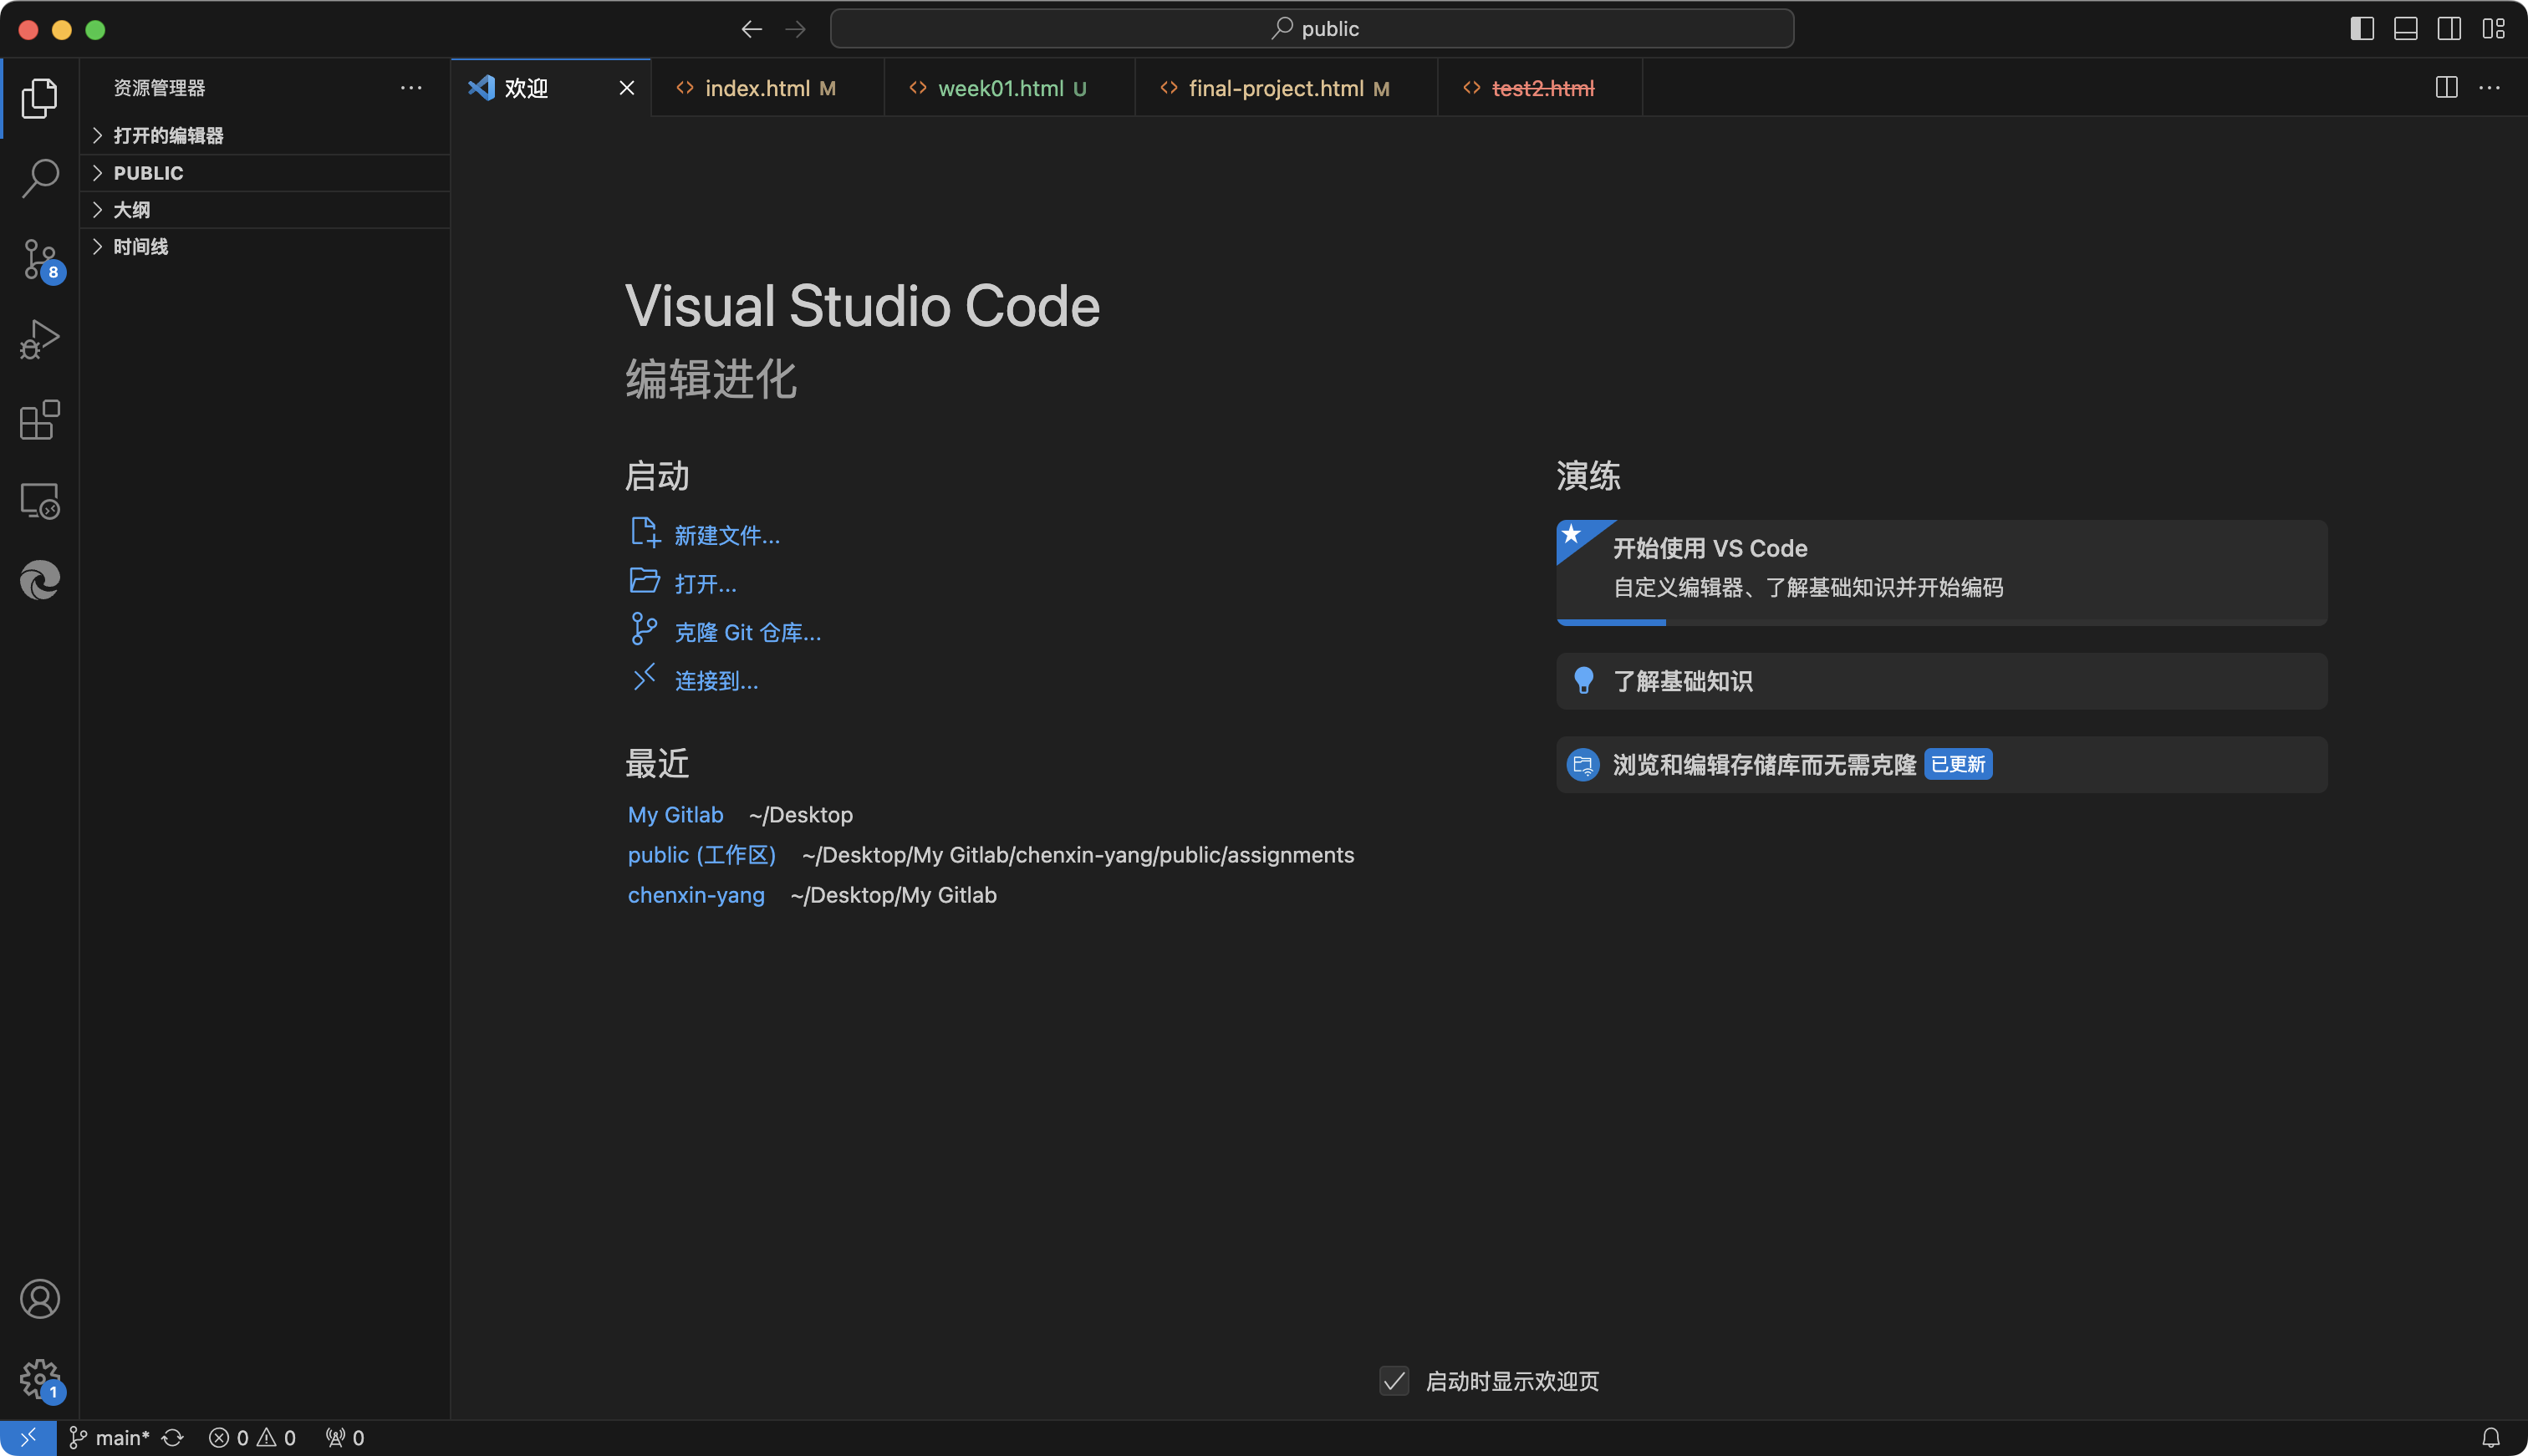
Throught the VScode IDE,I got 2ways to clone the GIT documentation to my Macbook.
Method 1:directly click the "Open in your IDE",then choose the "Visual Studio Code (HTTPS)"

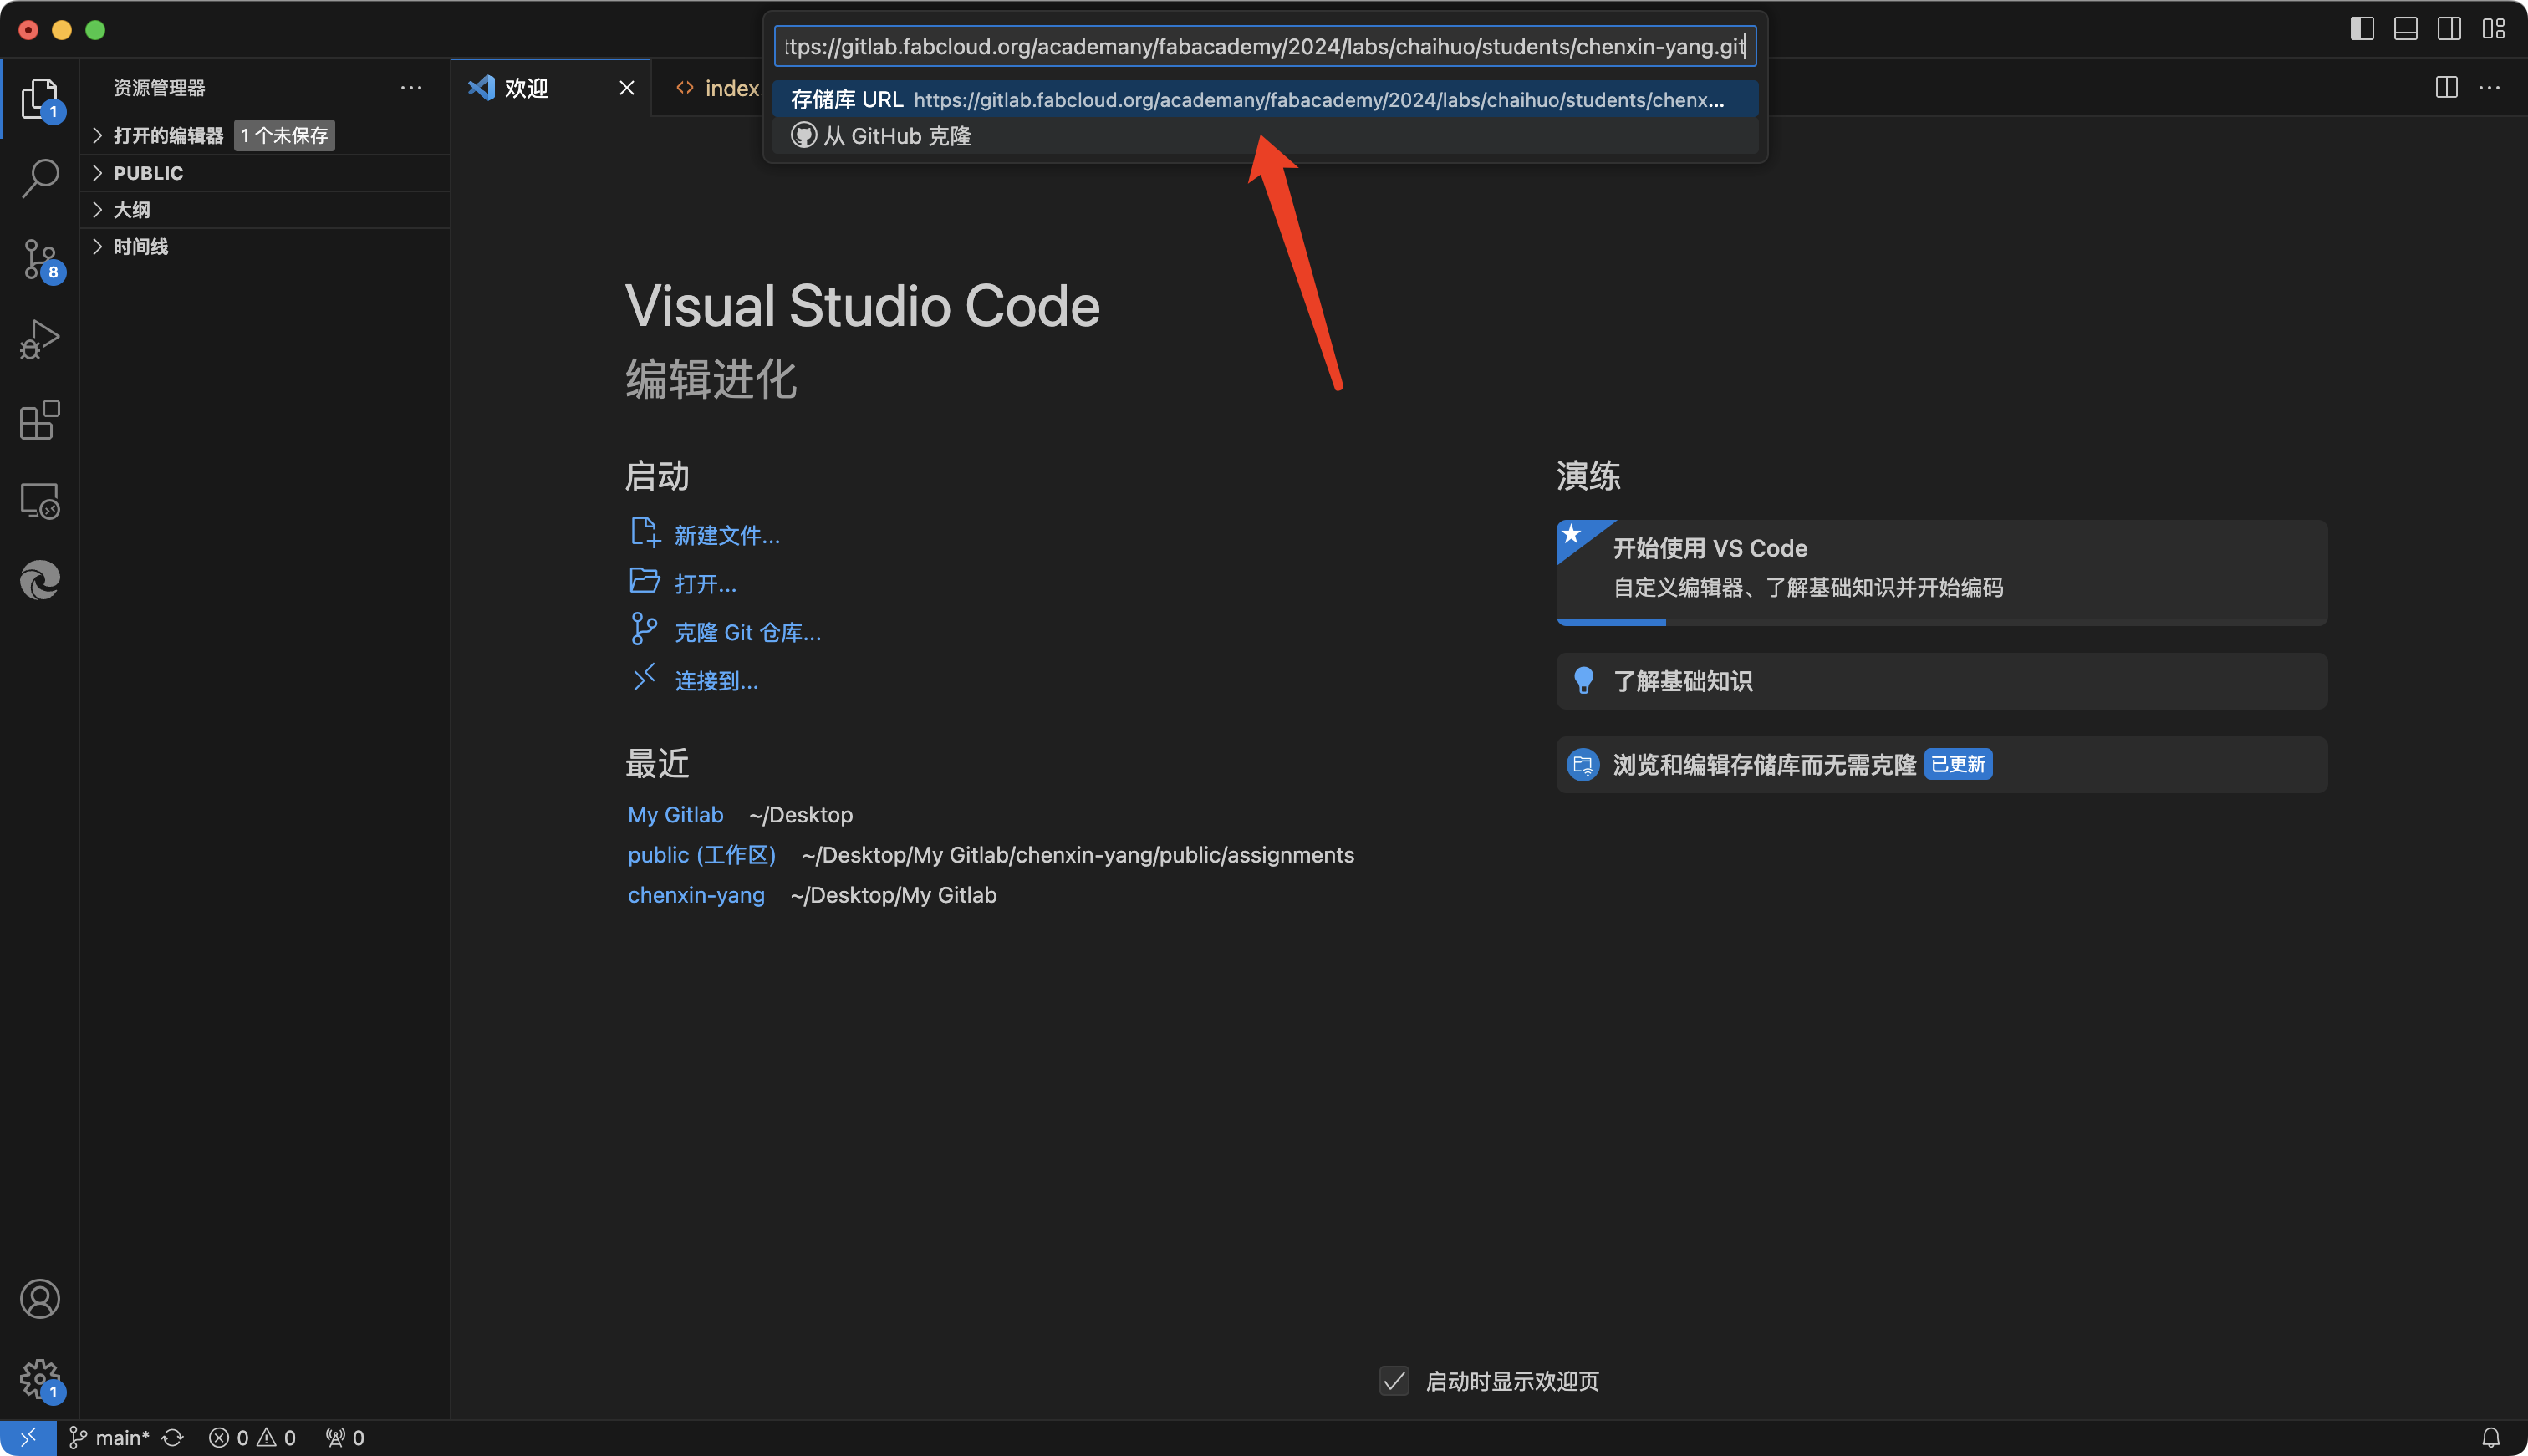
Method 2:try “git clone Your HTTPS URL” and paste the link to the IDE like picture below
- Learn HTML and Edit your code with Visual Studio Code.
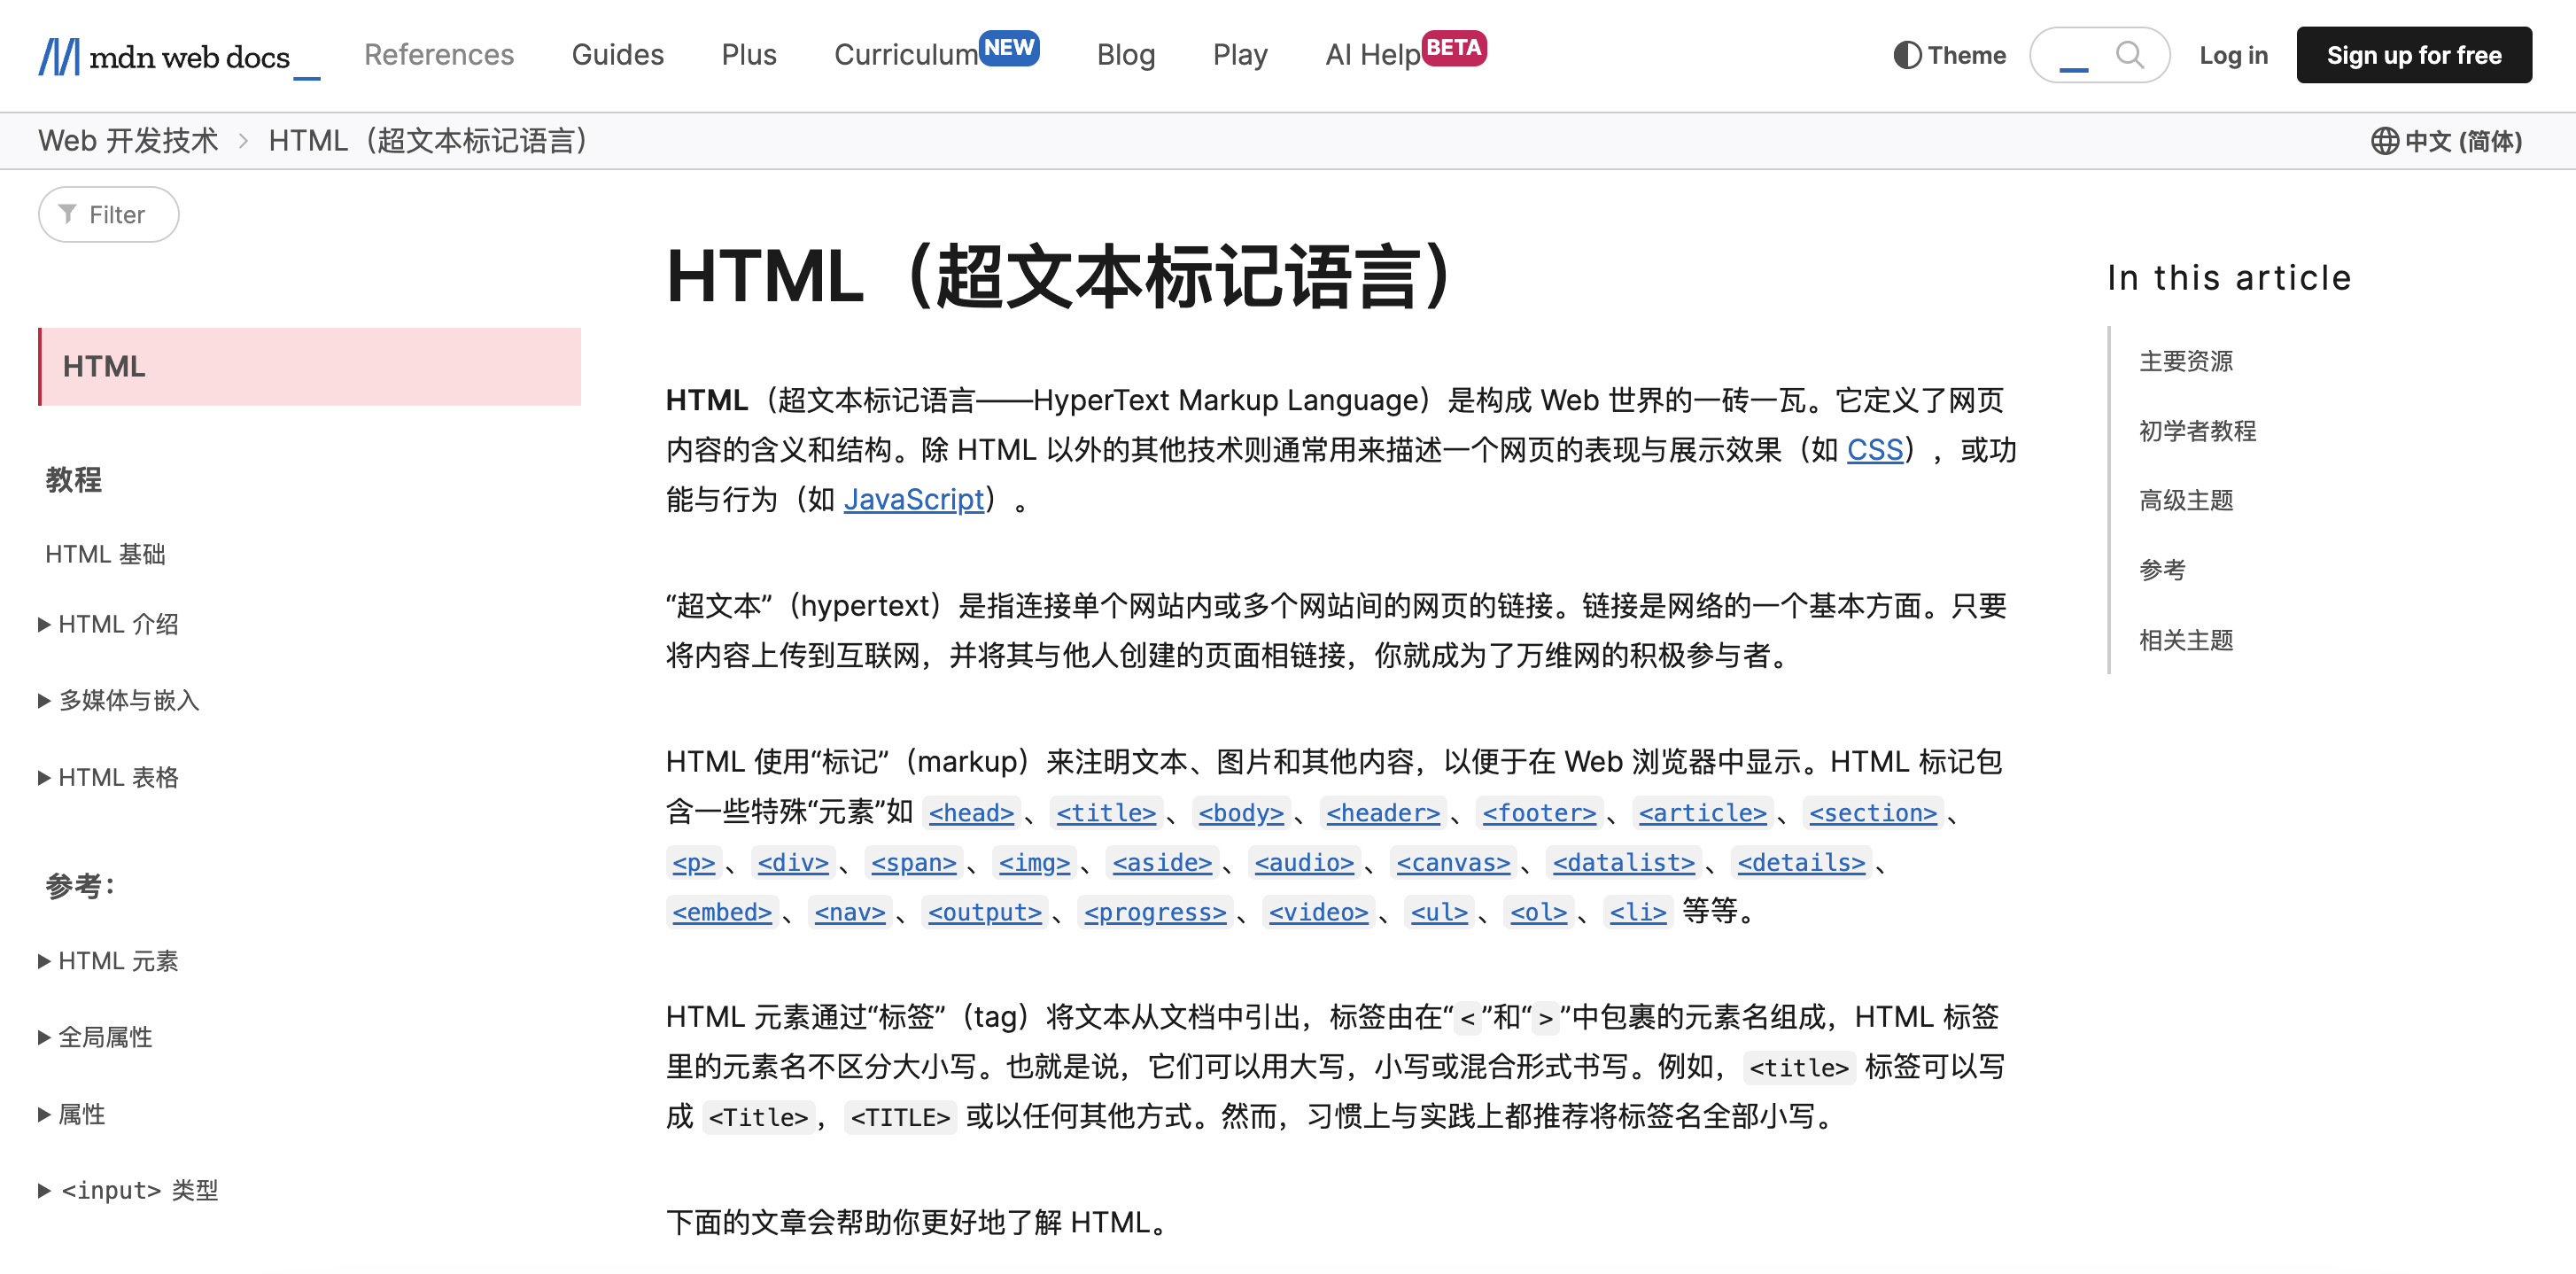
1.What is HTML?
I find a website called mozilla to learn HTML.
Reference Links
To Learn html - watch this HTML tutorial .Prettier needs more configuration to realize auto formatting, check this tutorial :
For div, see html - div
For CSS properties, see CSS properties here
For mkdos,see mkdos:
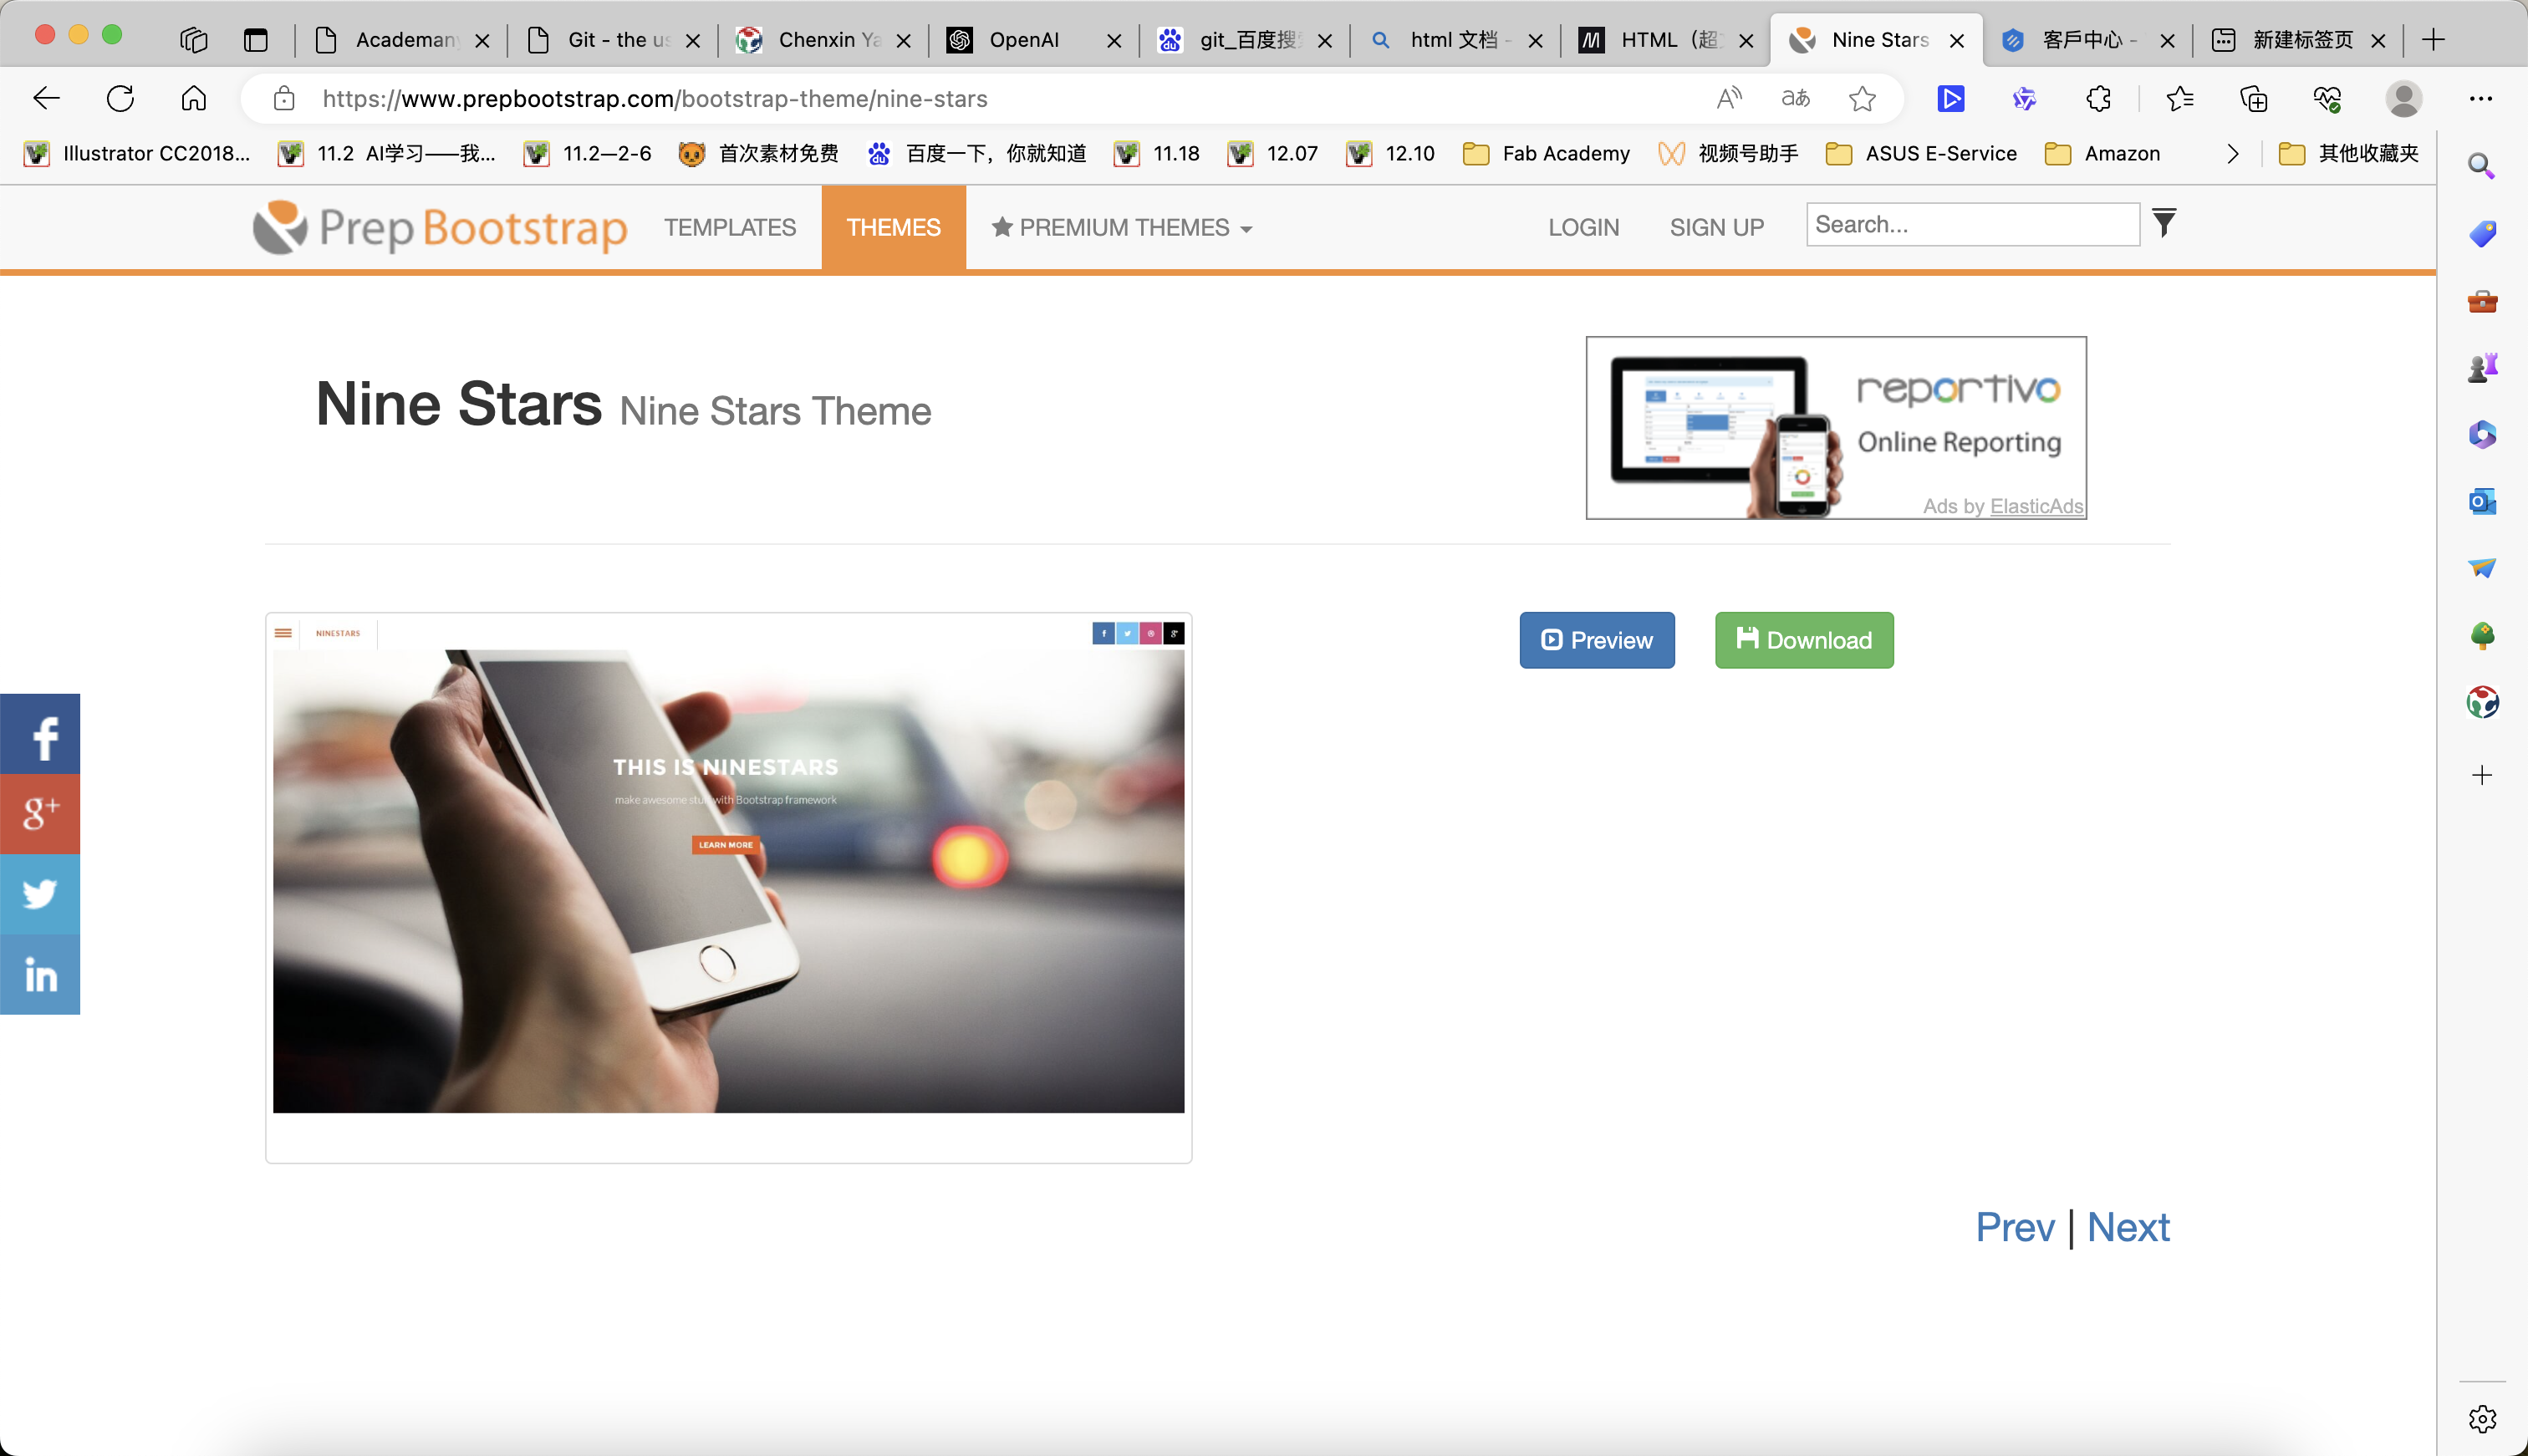
2.Try to find a beautiful demo for my website and adjust it.
Install Git
When I see many beautifully designed web pages, I know that I can’t create such stunning pages in a short time.
So, I found open-source web templates. This way, I can use my HTML knowledge to modify the code and achieve the effects I want.
There's a preview link of the template I found on nine-stars.
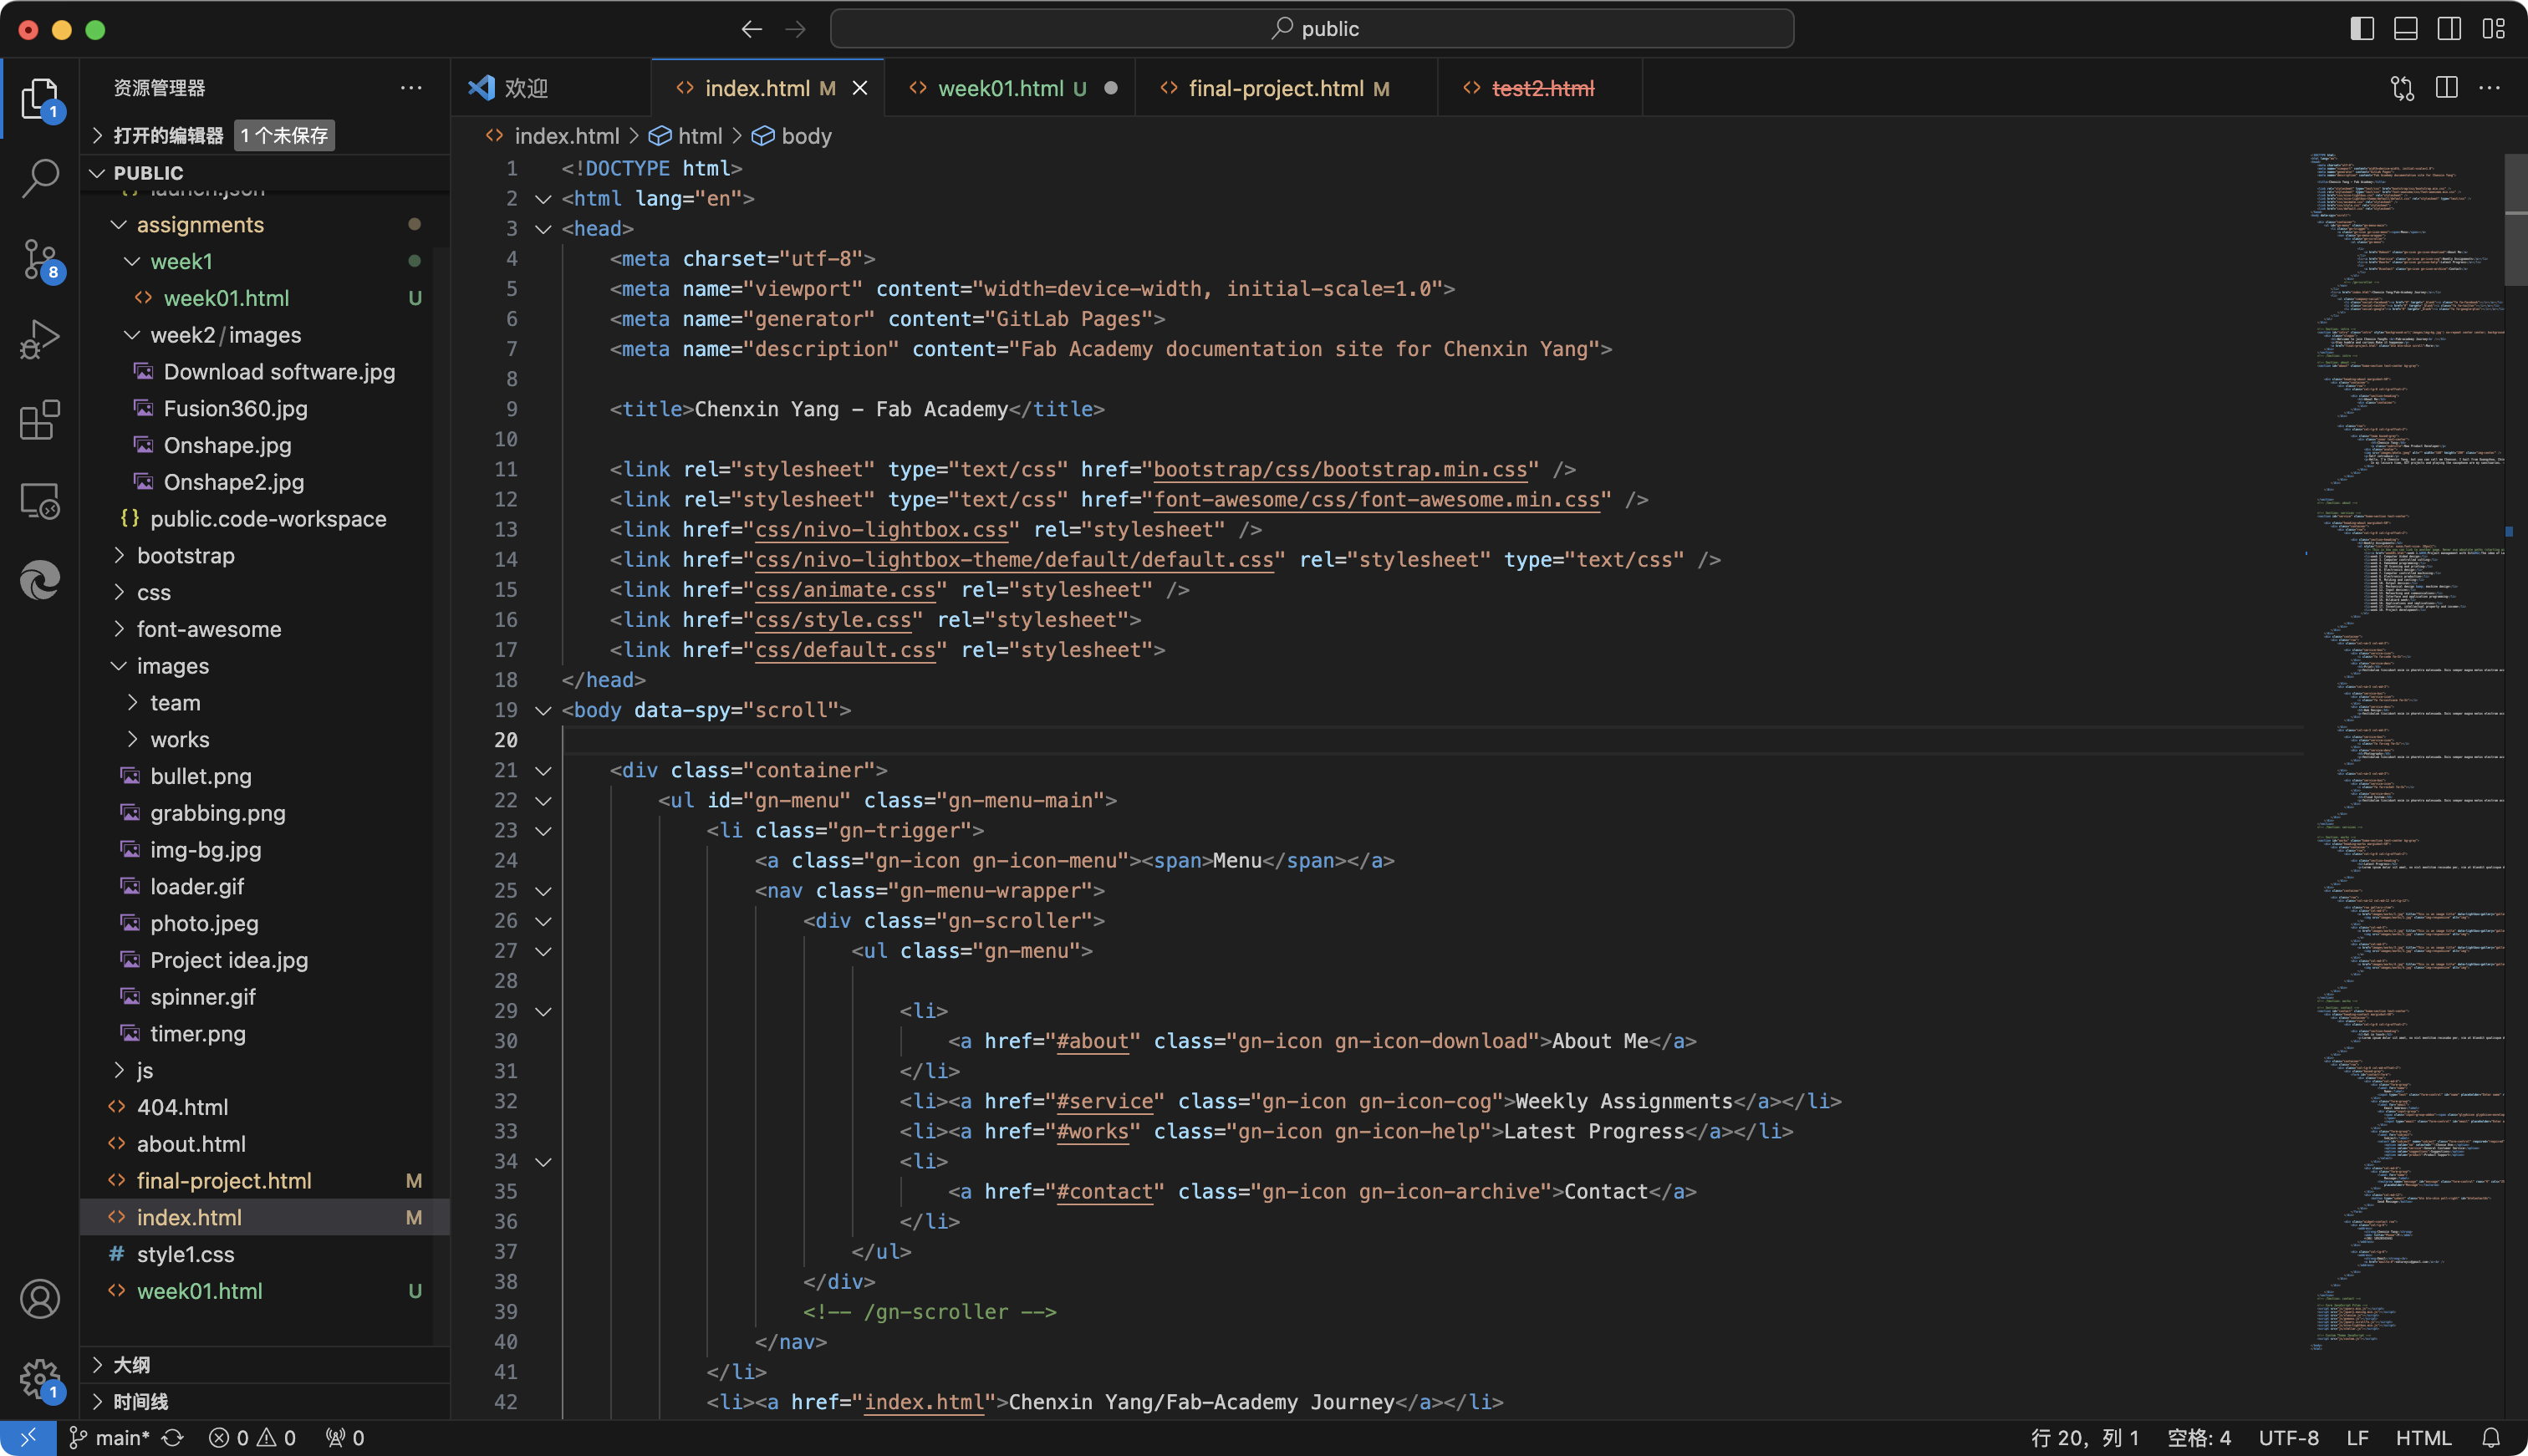
3.Adjust the template to build my first website.
By learning CSS and div, I wrote some code and added it to the template to adjust the layout and display effects of the page.
Here's the pic of myself introduce that I changed for the website.

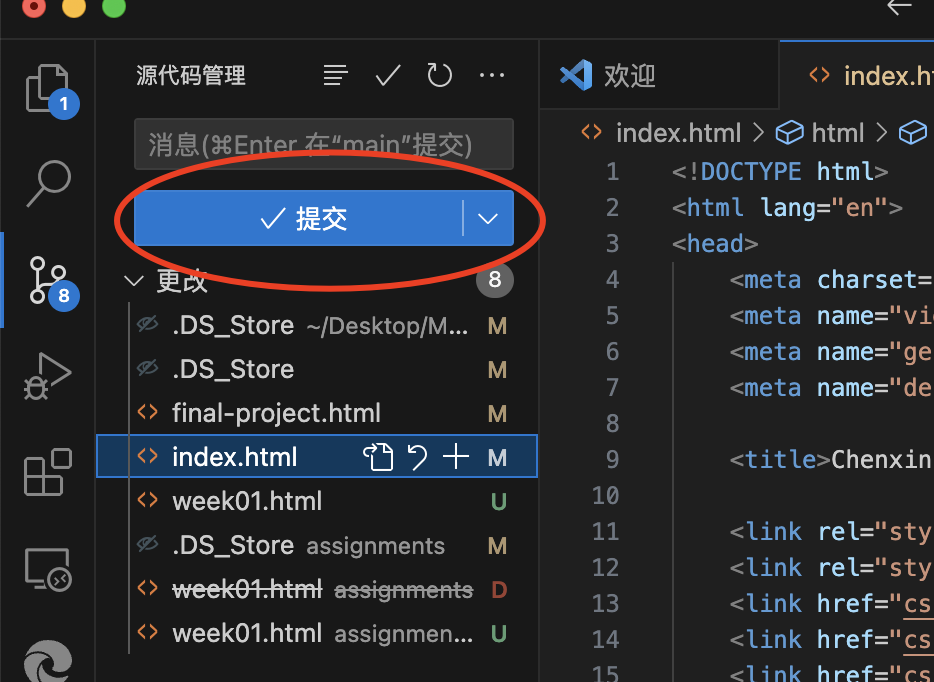
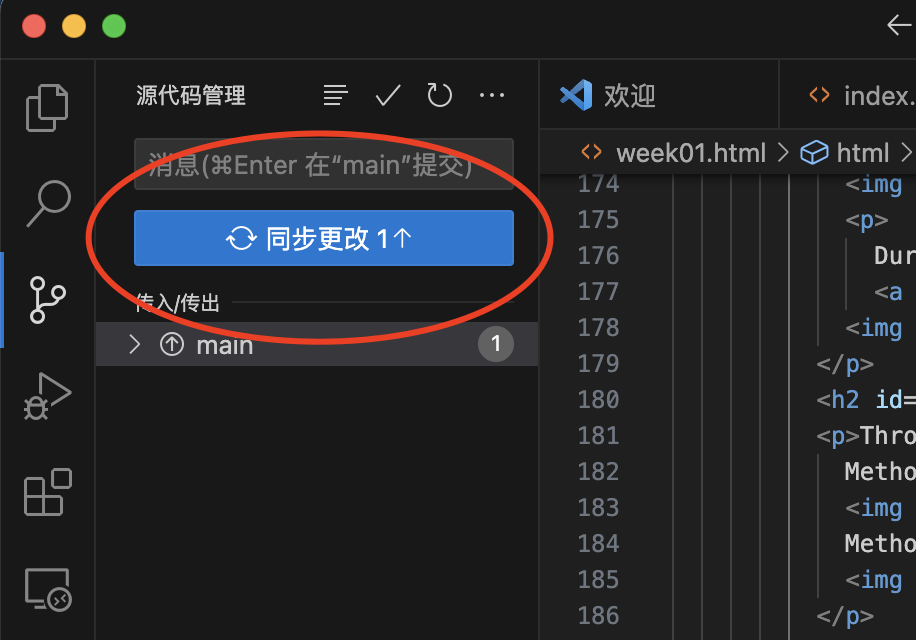
- Upload my files to Gitlab
Now that I have learned basic HTML and CSS, you can modify the HTML inside the public/week01.html file, and also the about.html, and you can edit your final project page too.To upload your local project, you should know your local project location on your computer.
You should see the Last update as ‘just now’
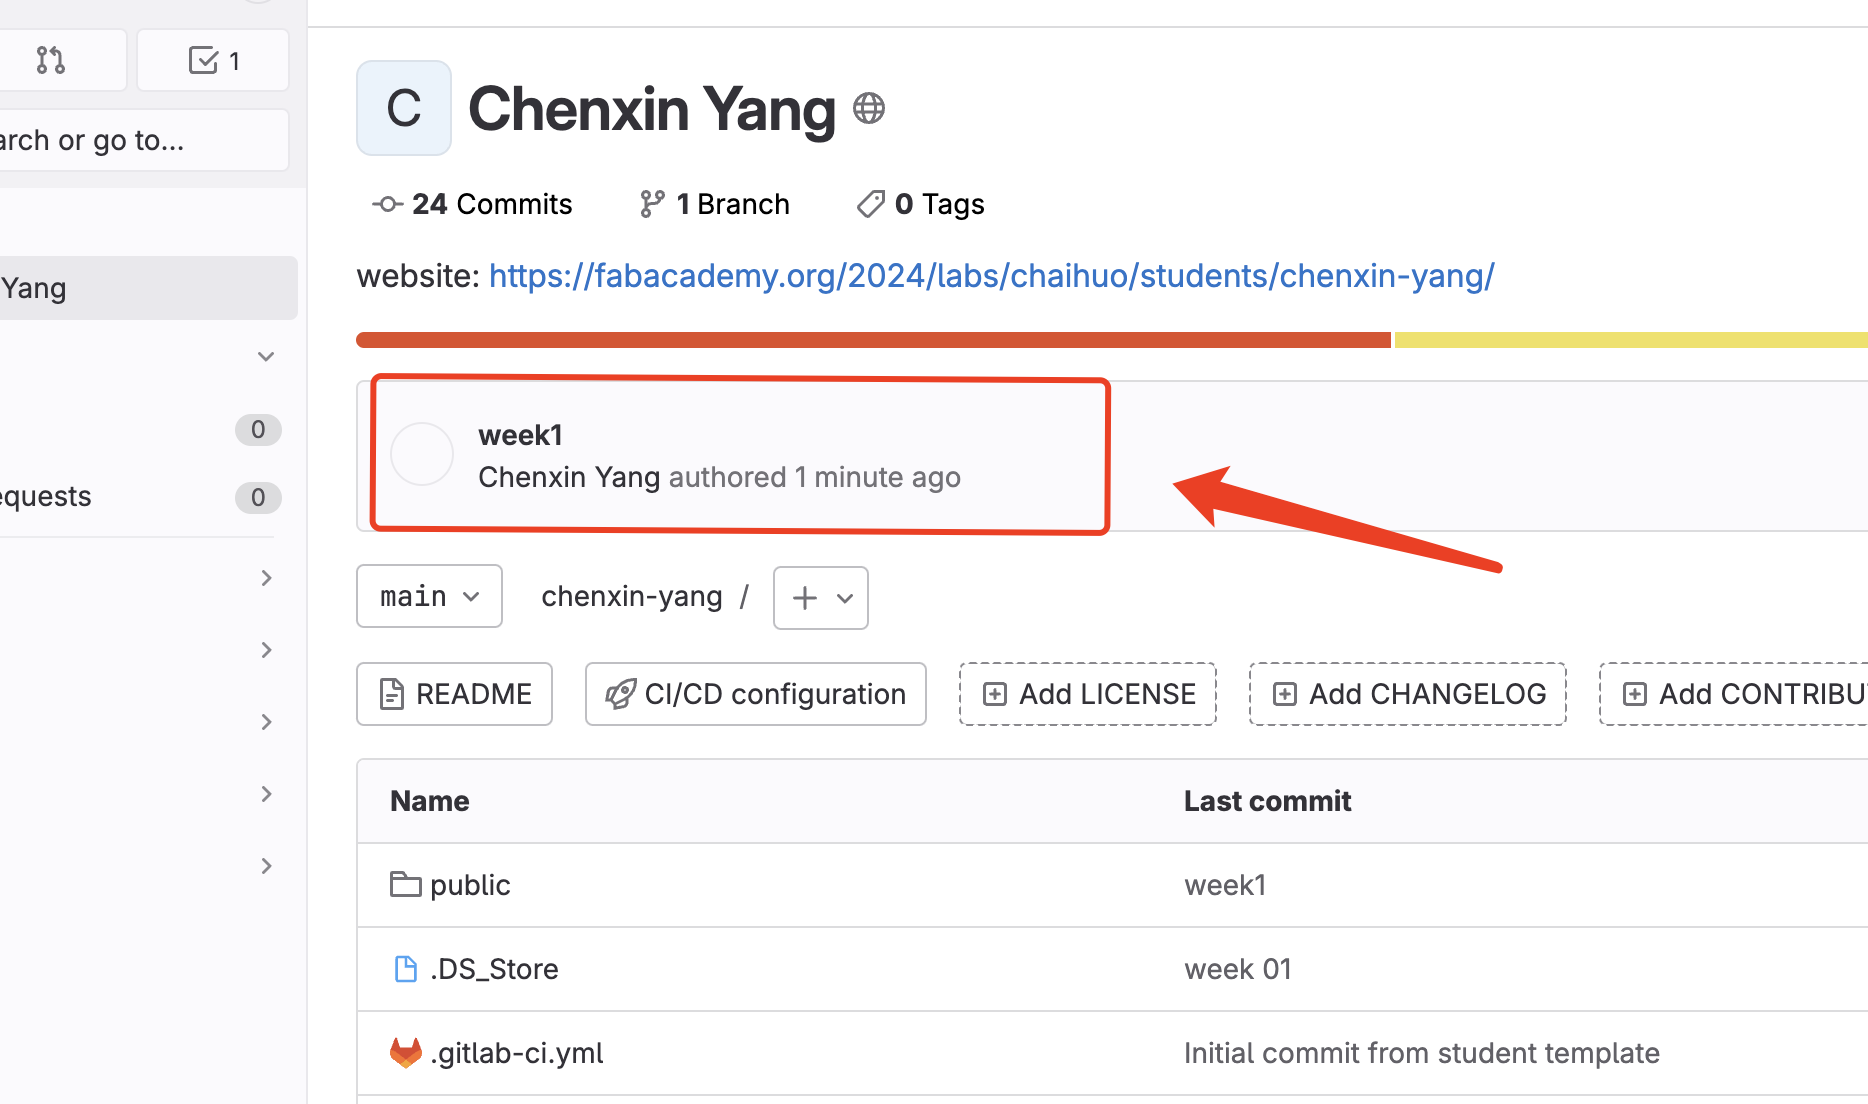
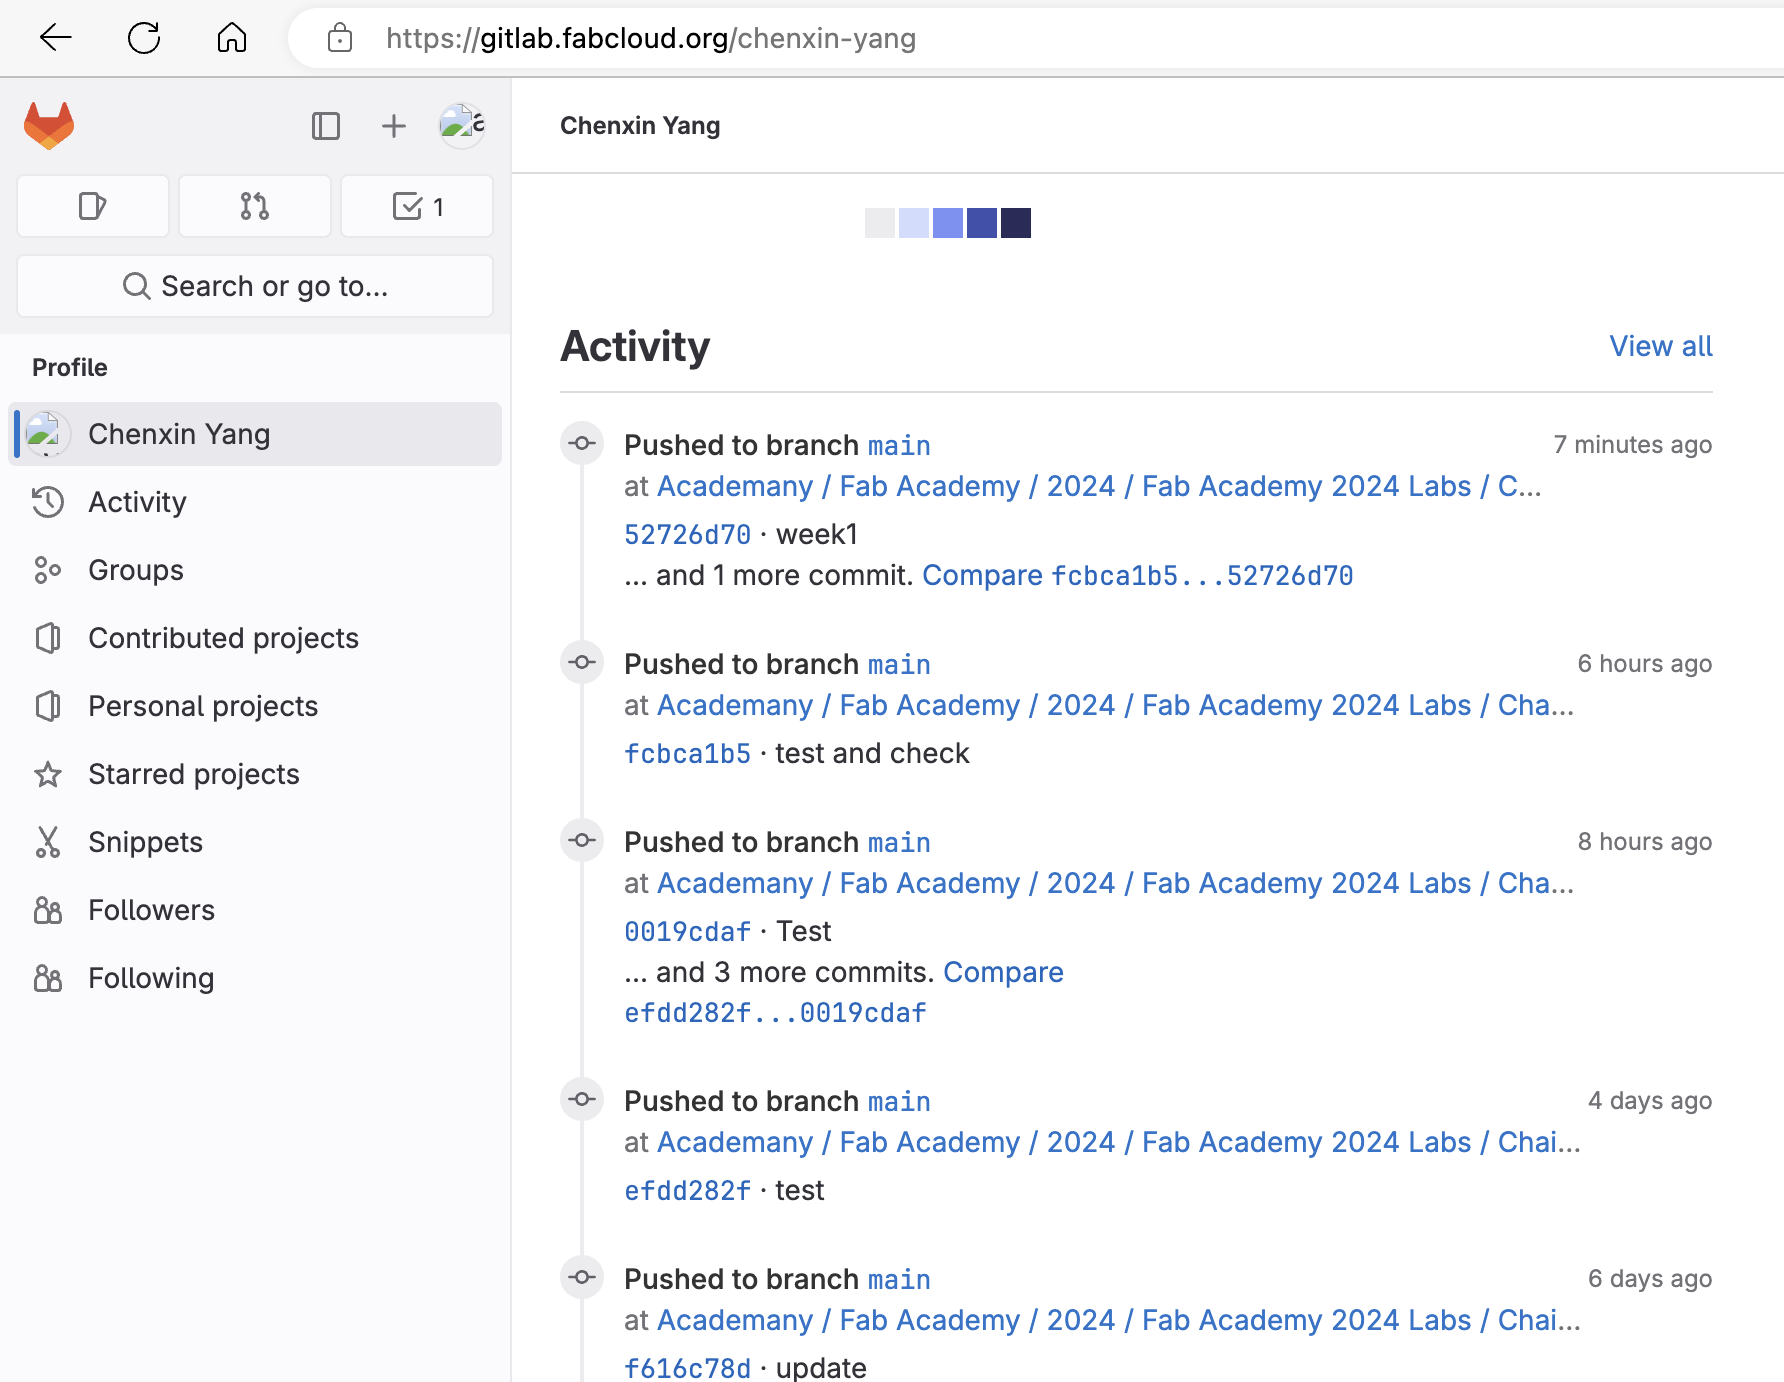
Then you can check the Activity:
Let's Jump to the Top !!!